How to Use a Paint Sprayer
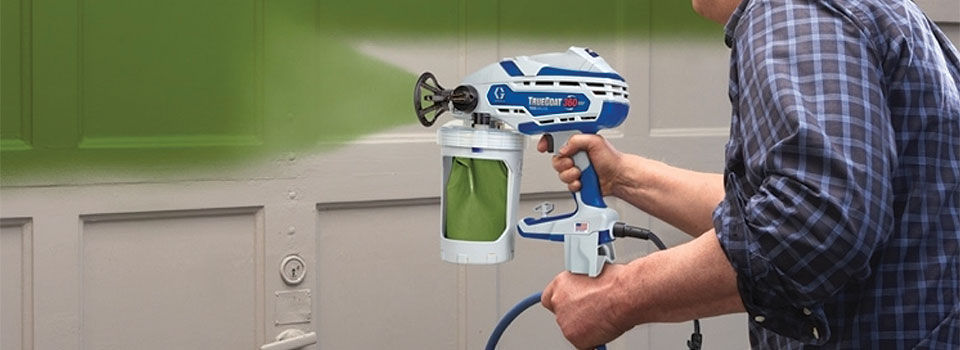
Paint sprayers can make quick work of an otherwise overwhelming home painting project, but they’re not automatically a good fit for every job. The extra amount of setup to protect windows, doors, and other fixtures from overspray means that only relatively large painting jobs are worth the effort. For trying to paint your entire exterior or multiple interior rooms in a hurry, a paint sprayer can make fast work of the challenge. Here’s how to pick, set up, and use the sprayer properly for a smooth and even coat of paint.
Choose the Right Sprayer

First, buy or rent the right equipment to get good results without a lot of risks. High Volume Low Pressure (HVLP) sprayers are easy to use, but they only work with thinner paints and don’t produce good results with many popular latex and oil paints. For the most versatile exterior and interior painting options, look for an airless paint sprayer instead. These sprayers produce the largest amount of spray for quick results without requiring you to buy a separate air compressor. Pneumatic sprayers designed to work with compressors are intended for industrial use and not for homeowners.
Prepare the Work Areas Well
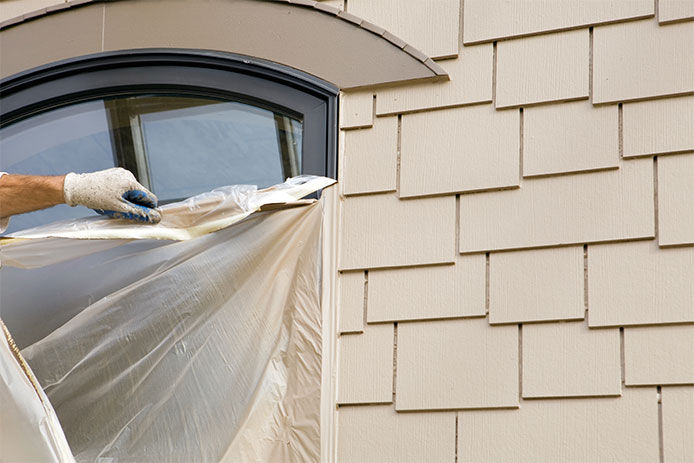
While taping and hanging plastic is always important when painting, it becomes essential with the extra spray produced by these devices. Without tightly taped seams and a carefully stretched plastic cover, it’s easy to get paint permanently sprayed across windows, siding, and trim. Take special care to protect materials that won’t withstand scraping or cleaning with paint thinner to remove spray. Aside from taping and wrapping up the areas, clear away any trip hazards and make space for the paint buckets and hoses to rest without becoming an obstacle. You don’t want to kick or knock over the paint while you’re in the middle of a smooth spraying cycle.
Practice First
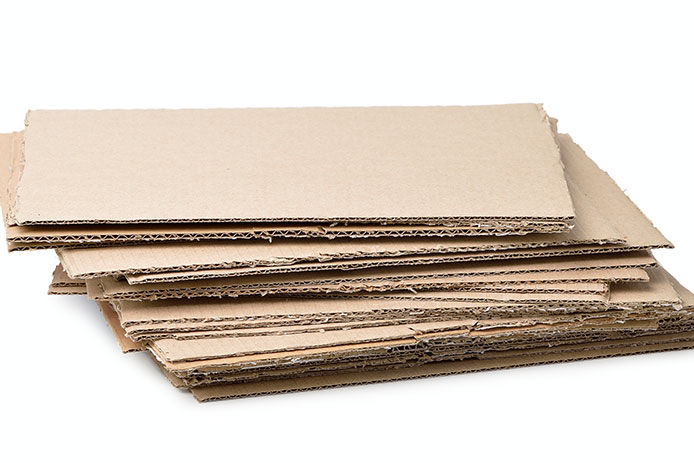
After getting your rented or purchased paint sprayer, take time to practice with it a few times before attempting the first project. Most sprayers designed for homeowners include printed posters to hang on a piece of plywood or drywall. The marks on the poster help you practice making smooth and even strokes for a drip-free coating. You’ll also get a chance to practice filling in a particular area evenly without unnecessary overspray. If you rent a sprayer or buy one without this kind of practice device, you can always mark off a rectangle on a piece of cardboard or drywall and practice on your own.
Prime the Sprayer
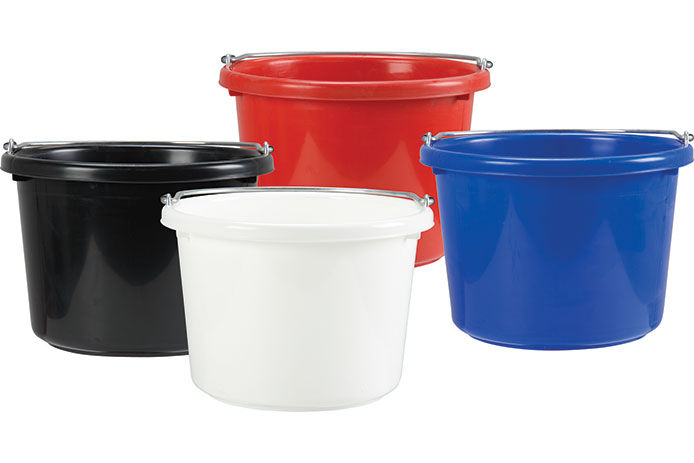
Assuming the use of an airless paint sprayer, you’ll need to prime the sprayer to use it when beginning either a practice or real project. These sprayers draw paint up from any can or container that’s deep enough for the flexible hose to sit in. To properly prime, grab another scrap bucket for holding some waste paint. Point the clear priming tube into the scrap bucket so that excess paint can drip out into it as needed. Turn the sprayer on and run it at a scrap of cardboard until bubbles stop coming up in the paint can. Then you’re ready to spray.
Choose the Right Setting
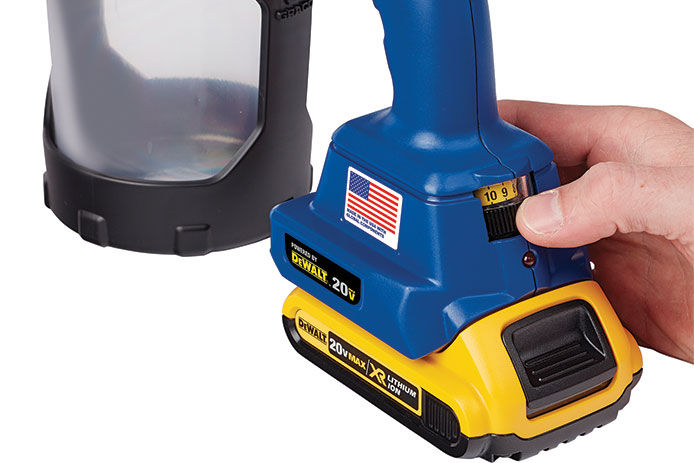
Consider whether you want to sweep the surface in a horizontal or vertical pattern when working over it. Horizontal strokes are better for siding orientated that way, most interior surfaces, and projects in general. Vertical strokes are recommended for highly textured surfaces like brick or cedar siding where the paint needs to penetrate gaps. Set the sprayer to match the pattern you choose since it will change the shape of the oval coming out of the tip. Using a mismatched spray pattern results in more dripping and uneven coverage.
Aim for a 50% Overlap
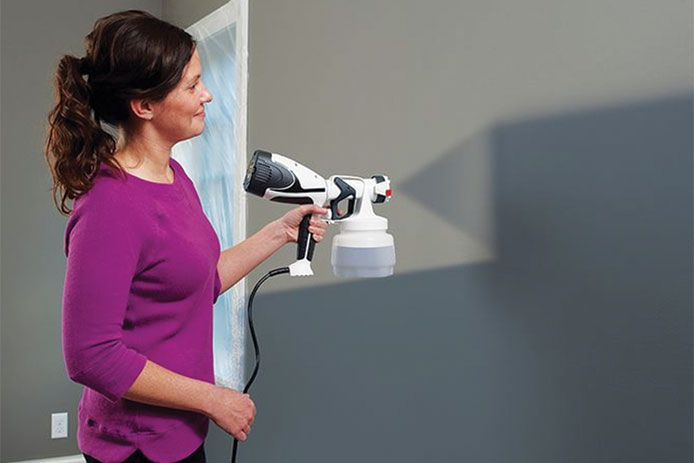
Work over the surface, aiming to cover a strip one foot wide or tall at a time. Then aim to overlap the last stripe by 50% to keep the coverage even and to prevent dripping. With this much overlap, you should be able to spray smoothly and evenly rather than slowly to get thicker coverage. Trying to line up the stripes with little to no overlap will only result in drips as you apply too much paint to compensate. Overlapping and blending the overspray is the best way to get a smooth surface with even coverage in the end. Touch up any drips immediately with a brush.
It can take a few tries to get good results from a paint sprayer. Try coating a front door or furniture painting project before tackling a whole house exterior.
While do-it-yourself projects can be fun and fulfilling, there is always a potential for personal injury or property damage. We strongly suggest that any project beyond your abilities be left to licensed professionals such as electricians, plumbers, and carpenters. Any action you take upon the information on this website is strictly at your own risk, and we assume no responsibility or liability for the contents of this article.